Most of the damage to the caravan was due to a number of water ingress points.
The most obvious was the skylights that needed to be replaced. This is a fairly easy job but needs time and a secure way of accessing the skylight opennings.
Undoing the fittings from the inside got me started.
1) Remove all screens, covers and attachments from the skylight
2) Undo the retaining screws from the inside of the openning cut into the caravan roof.
3) Being careful not to climb or put weight onto the roof of the van (I parked the van next to my garage, so used the roof, that I know is secure to stand on). Remove the top skylight assembly. This is attached by mastic and can be freed by using a sharp knife blade.
4) Clean all residual mastic using white spirit from the roof, and the replacement skylight (if bought from a breakers as mine were).
5) Using M4 Mastic on a roll prepare the edge of the openning to recieve the replacement skylight fixture.
6) Fit the skylight into the openning making sure to press firmly to ensure good adhesion on all sides and corners.
7) Replace the inside fittings from inside the caravan and tighten retaining screws in turn until even pressure is applied.
8) Add a bead of Silkaflex round the outside of the fixture on the roof to ensure a good water tight seal.
Unfortunately no photos this time, but links on the
UK Campsite Fixed it club helped me along. My advice is to pick a dry couple of days or undertake this under some kind of cover.
To ensure other good seals, I refitted and resealed the awning rails on both sides. After removing and replacing I realised this was also a major source of water ingress. Again refer to the
UK Campsite Fixed it club for full details of awning rail replacement.


 A bit more careful sanding and some Fiat Punto off white car spray it was ready for the new light cluster (bought from the nice people at Premier Towing centre).
  Bingo, a new corner where once there was nowt


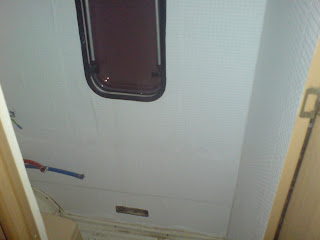
 To get the bathroom window sorted, which involved a complete strip back to the aluminium skin (carefully) removing the boarding and the insulation. This revealed a large amount of water had been coming in from the rails on the outside (another job loomed). Once the rails had been replaced with new mastic and screws, over a couple of weeks I checked there was no water coming in,